Raspberry Pi Pico Ubuntu 24.04 Getting Started
Background
The pi pico getting started guide covers getting started using Linux, but it is missing some important steps. Following the guide will setup VS code and some of the required system packages, but crucially debugging and Stdio communication will likely not be functional. After VS code and the extensions are setup, the following steps will complete the setup.
Debugging
Two additional packages are required that are not listed in the official getting started.
sudo apt install libhidapi-hidraw0
sudo apt install gdb-multiarch
At this point the debugger should be able to be started but only using sudo. Adding udev rules will allow you to use the debugger without sudo.
curl -O https://github.com/raspberrypi/openocd/blob/rpi-common/contrib/60-openocd.rules
sudo cp -pv 60-openocd.rules /etc/udev/rules.d
sudo udevadm control --reload-rules && sudo udevadm trigger
sudo systemctl restart udev
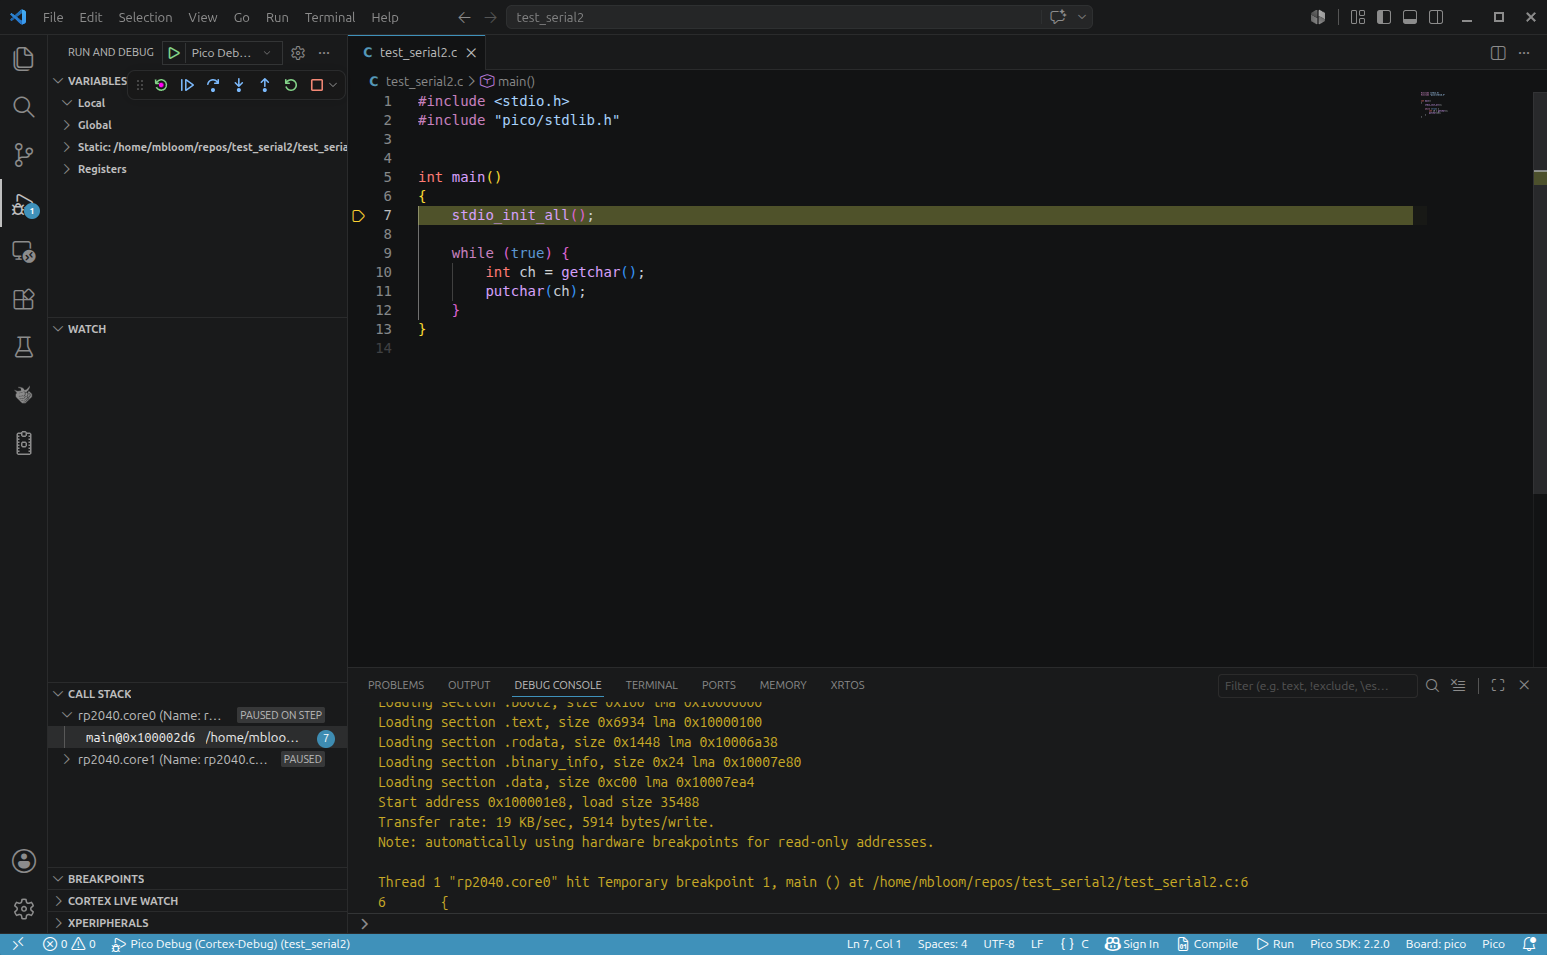
Now the debugger should work normally from in VS code.
Stdio console over USB
The pi pico emulated COM ports show up as ttyACM*. Stdio is useful for communicating with the pi pico, and USB mode has faster performance than the UART mode. However the same problem exists where only root is allowed to open the port without modifying udev rules.
sudo nano /etc/udev/rules.d/99-pico.rules
Copy the following contents into the file.
# Raspberry Pi Pico Serial Port (CDC ACM)
SUBSYSTEMS=="usb", ATTRS{idVendor}=="2e8a", MODE="0666"

# Raspberry Pi Pico RP2040/RP2350 Bootloader
KERNEL=="ttyACM*", ATTRS{idVendor}=="2e8a", MODE="0666"
Then finish with the following commands.
sudo udevadm control --reload-rules && sudo udevadm trigger
sudo systemctl restart udev
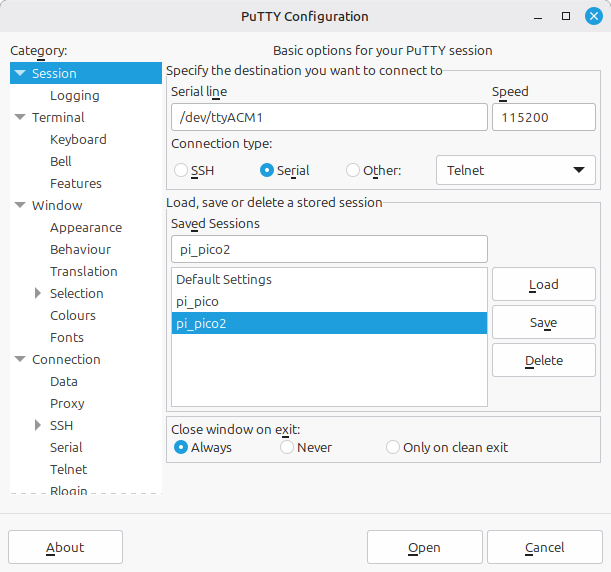
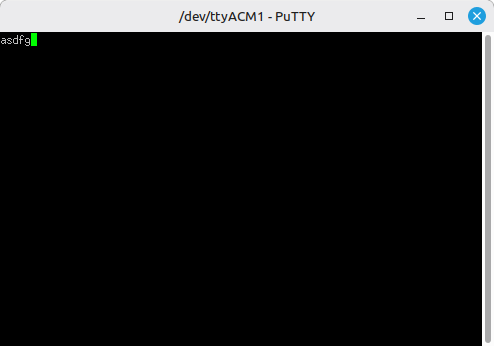
These screenshots show putty configuration for the Stdio over USB and echo chars in the terminal.